Behind the Scenes: How I Create a Custom Dining Table
Step 1 — Questions to consider
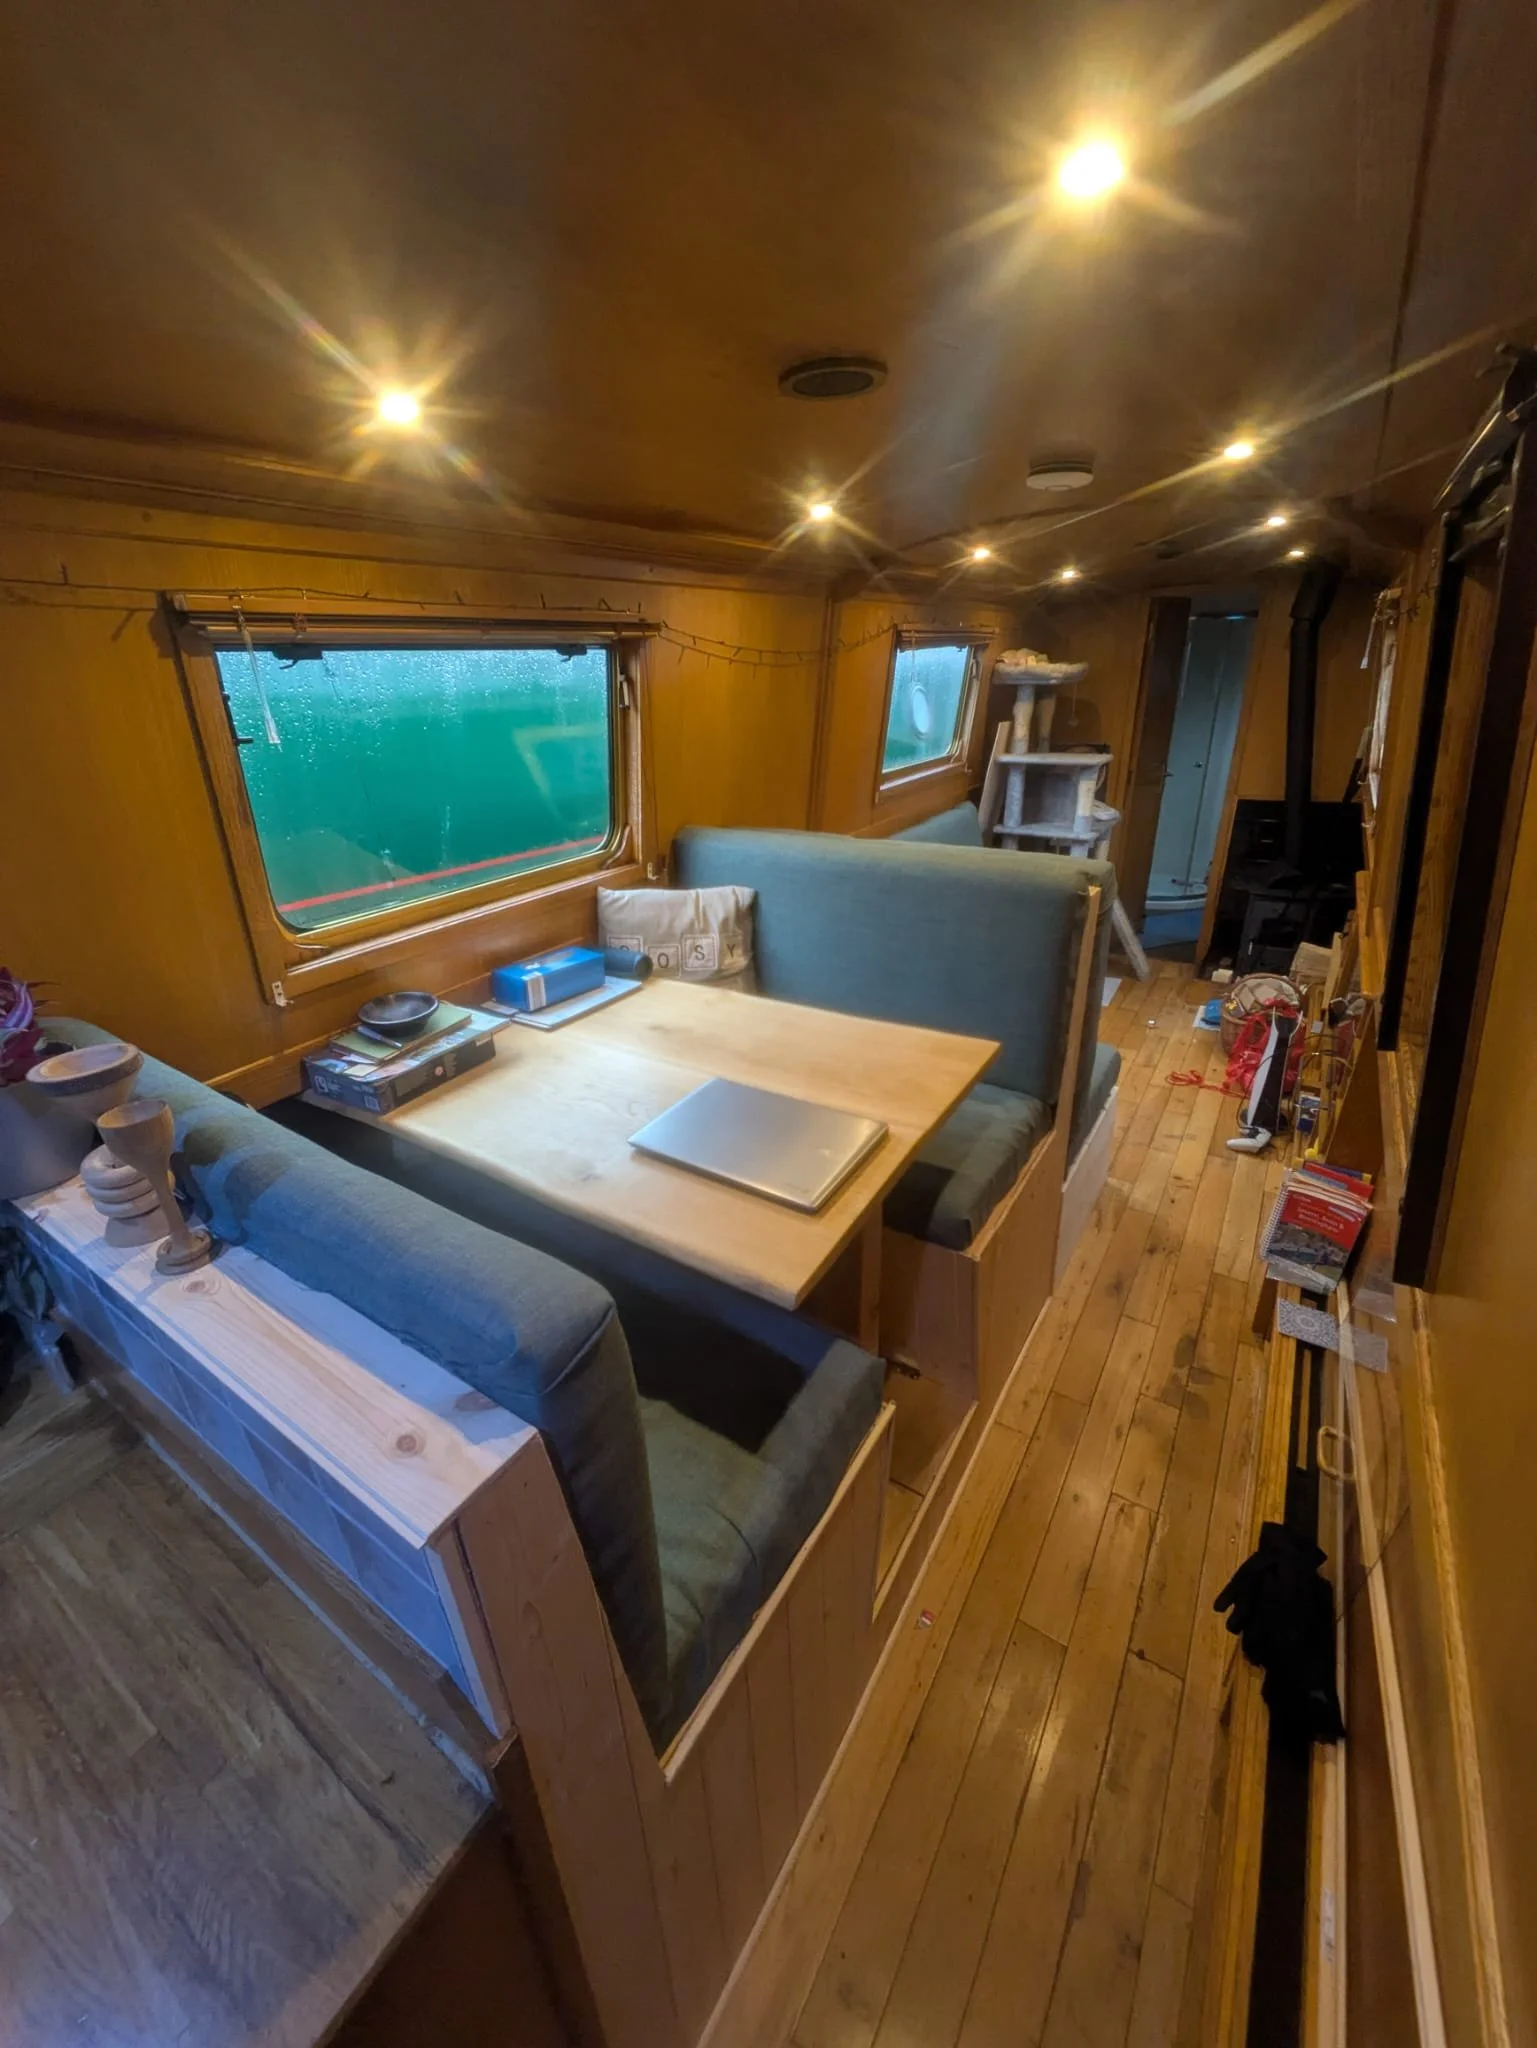
Do you need built-in storage (likely if it’s for a boat or campervan)?
How many people should it seat?
What space is available?
What’s your budget?
Will the table be used for dining, as a coffee table, for work, or for multiple purposes?
What wood are you going to use for the finish and the build?
Step 2 — Measure and sketch out your design
Measure the available floor and clearance (including legroom and passageways).
Sketch plan views and elevations with dimensions.
Decide on fixed vs. fold-away/extendable features if space is tight.
Note joinery types and hardware (hinges, sliders, legs, latches).
Step 3 — Buy materials
Visit B&Q or your local hardware store and select timber, screws, glue, and finish.
Ask the store to cut pieces to size to save time.
Consider plywood for lightweight strength (good for boats/campers) and hardwood for tabletops.
Don’t forget edge banding, sandpaper, wood filler, and protective finish.
Step 4 — Measure again and prep the area
Re-check all dimensions at the installation site (floor, walls, height).
Clear and clean the workspace; protect surfaces with drop cloths.
Lay out parts in build order and check you have all tools and fasteners.
Step 5 — Build and assemble
Cut and prepare parts: panels, rails, legs, and any storage compartments.
Pre-drill holes for screws to avoid splitting.
Dry-fit components before gluing or final fastening.
Use clamps and square checks to ensure assemblies are square.
Install hardware (hinges, catches, slides) and test moving parts.
Step 6 — Sanding and finishing
Progress through sandpaper grits for a smooth surface.
Apply wood filler to gaps, sand flush, and remove dust.
Apply your chosen finish (oil, varnish, lacquer) in thin even coats, allowing proper drying time.
For marine or camper use choose finishes rated for moisture and wear.
Step 7 — Install and final adjustments
Move the completed table into position (use helpers for larger pieces).
Secure fixed units to structure where needed (studs, stringers, or framing).
Check clearances and movement; make final trim adjustments.
Add cushions or trim for comfort and aesthetics.
Step 8 — Maintenance tips
Reapply protective finish periodically depending on use and exposure.
Tighten hardware periodically, especially in mobile environments.
Use coasters and placemats to protect surfaces from heat and moisture.
Quick material suggestions
Plywood (marine or exterior grade for boats; lightweight for vans)
Oak or ash for durable tabletops
Baltic birch plywood for stable, attractive panels
Teak or iroko for high-moisture applications (boats)
Stainless steel or brass hardware for corrosion resistance
Safety reminders
Wear eye and ear protection when cutting and sanding.
Use dust extraction or a mask when sanding.
Clamp workpieces securely and follow tool safety instructions.